
User and Membership Management in DigitAI
Step-by-step guide for administrators to onboard team members, manage roles and project memberships, and deactivate users to release seats in DigitAI.
Step by step
- 1
Prerequisites Regarding Projects and Seat Quotas
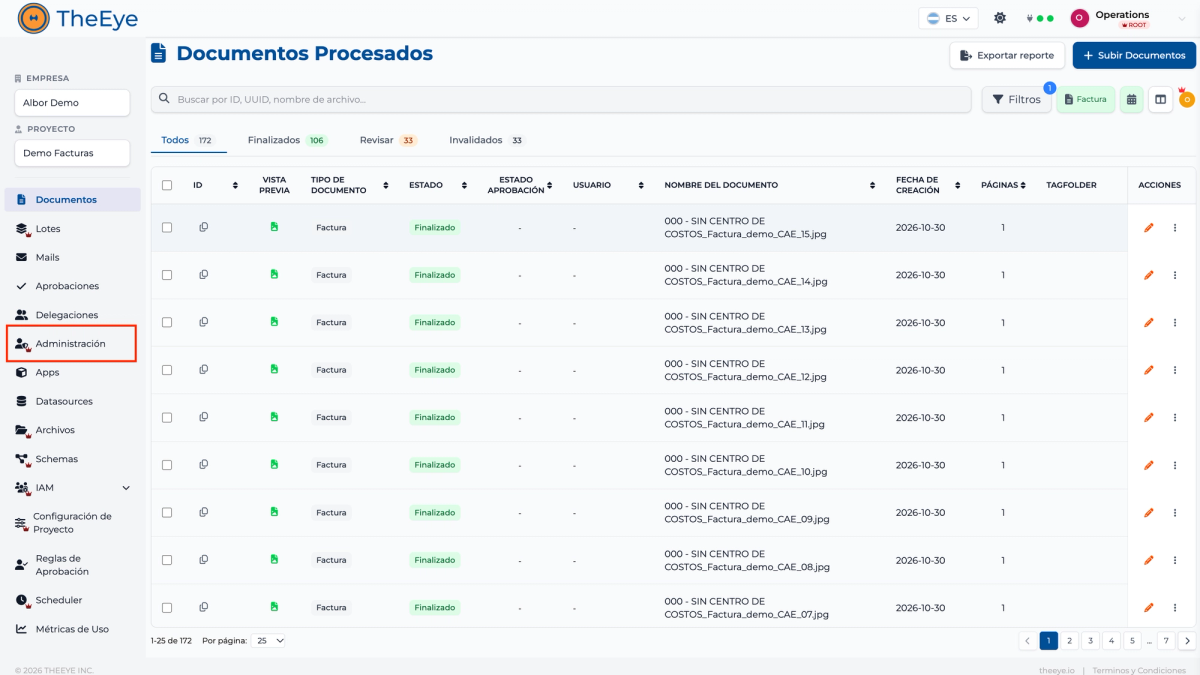
Before sending user invitations, keep two key aspects in mind: - Active Project: The invited user will automatically gain access to whichever project you currently have selected. If you want them in another project, switch to it before inviting or adjust memberships later. - Seat Quotas: Review the Administration header to confirm your subscription plan has available seats. To access, navigate to Administration from DigitAI's sidebar menu.
- 2
Inviting a New User
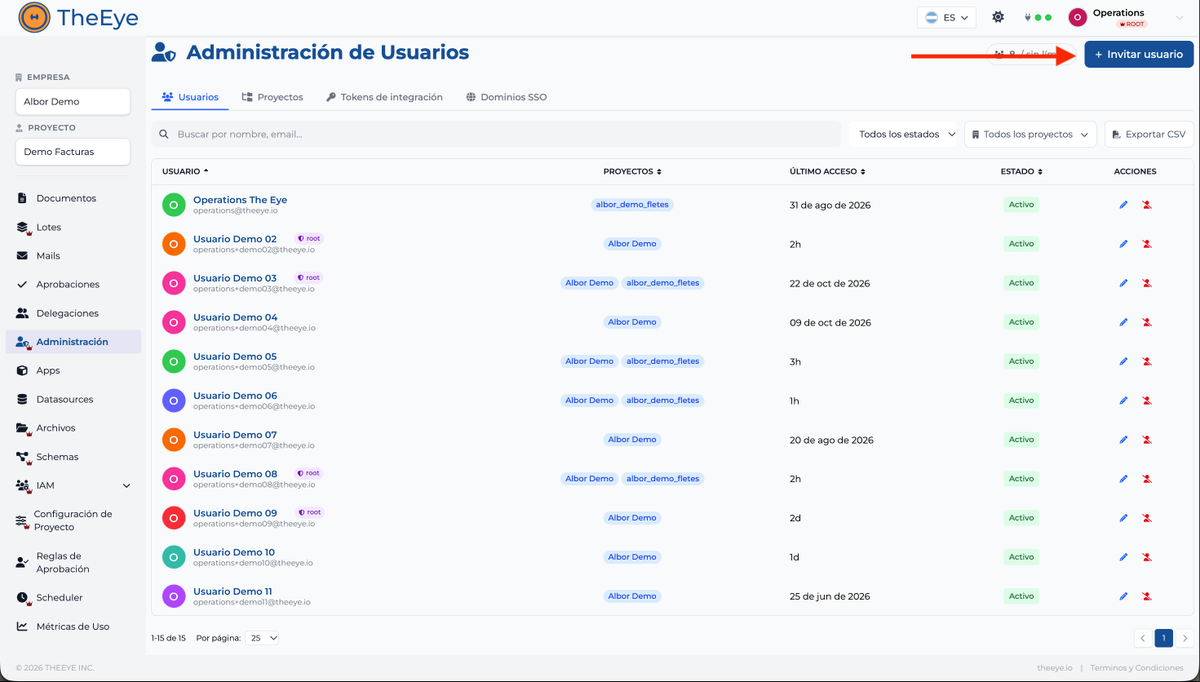
To add a new team member to the platform: 1. From DigitAI's sidebar menu, navigate to Administration. 2. Click the Invite User button. 3. Fill in the required fields: Full Name, Username, and Corporate Email Address. 4. Click Invite. The user will be created with the Operator role in the active project, and an automatic welcome email will be dispatched.
- 3
First Login for the Invited User (Collaborator Step)
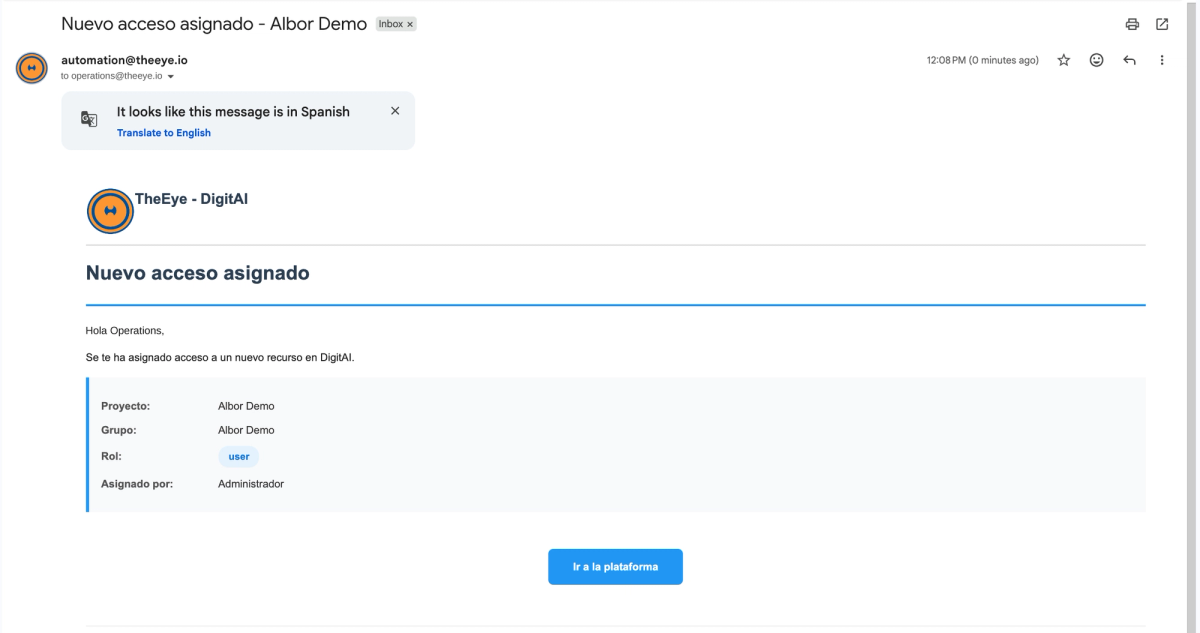
The invited collaborator will receive an email notification confirming their account creation. They can sign in using two methods: - Corporate Single Sign-On (Google or Microsoft): 1. Open the platform using the link provided in the welcome email. 2. Click Continue with Google or Continue with Microsoft using the same email account where the invitation was received (no password creation required). - Email and Password: 1. On the login screen, click Sign Up (Registrarse). 2. Complete your details and create a secure password. 3. Verify the account by clicking the confirmation link sent to your inbox. 4. Log in normally.
- 4
Assigning Additional Projects or Modifying Roles
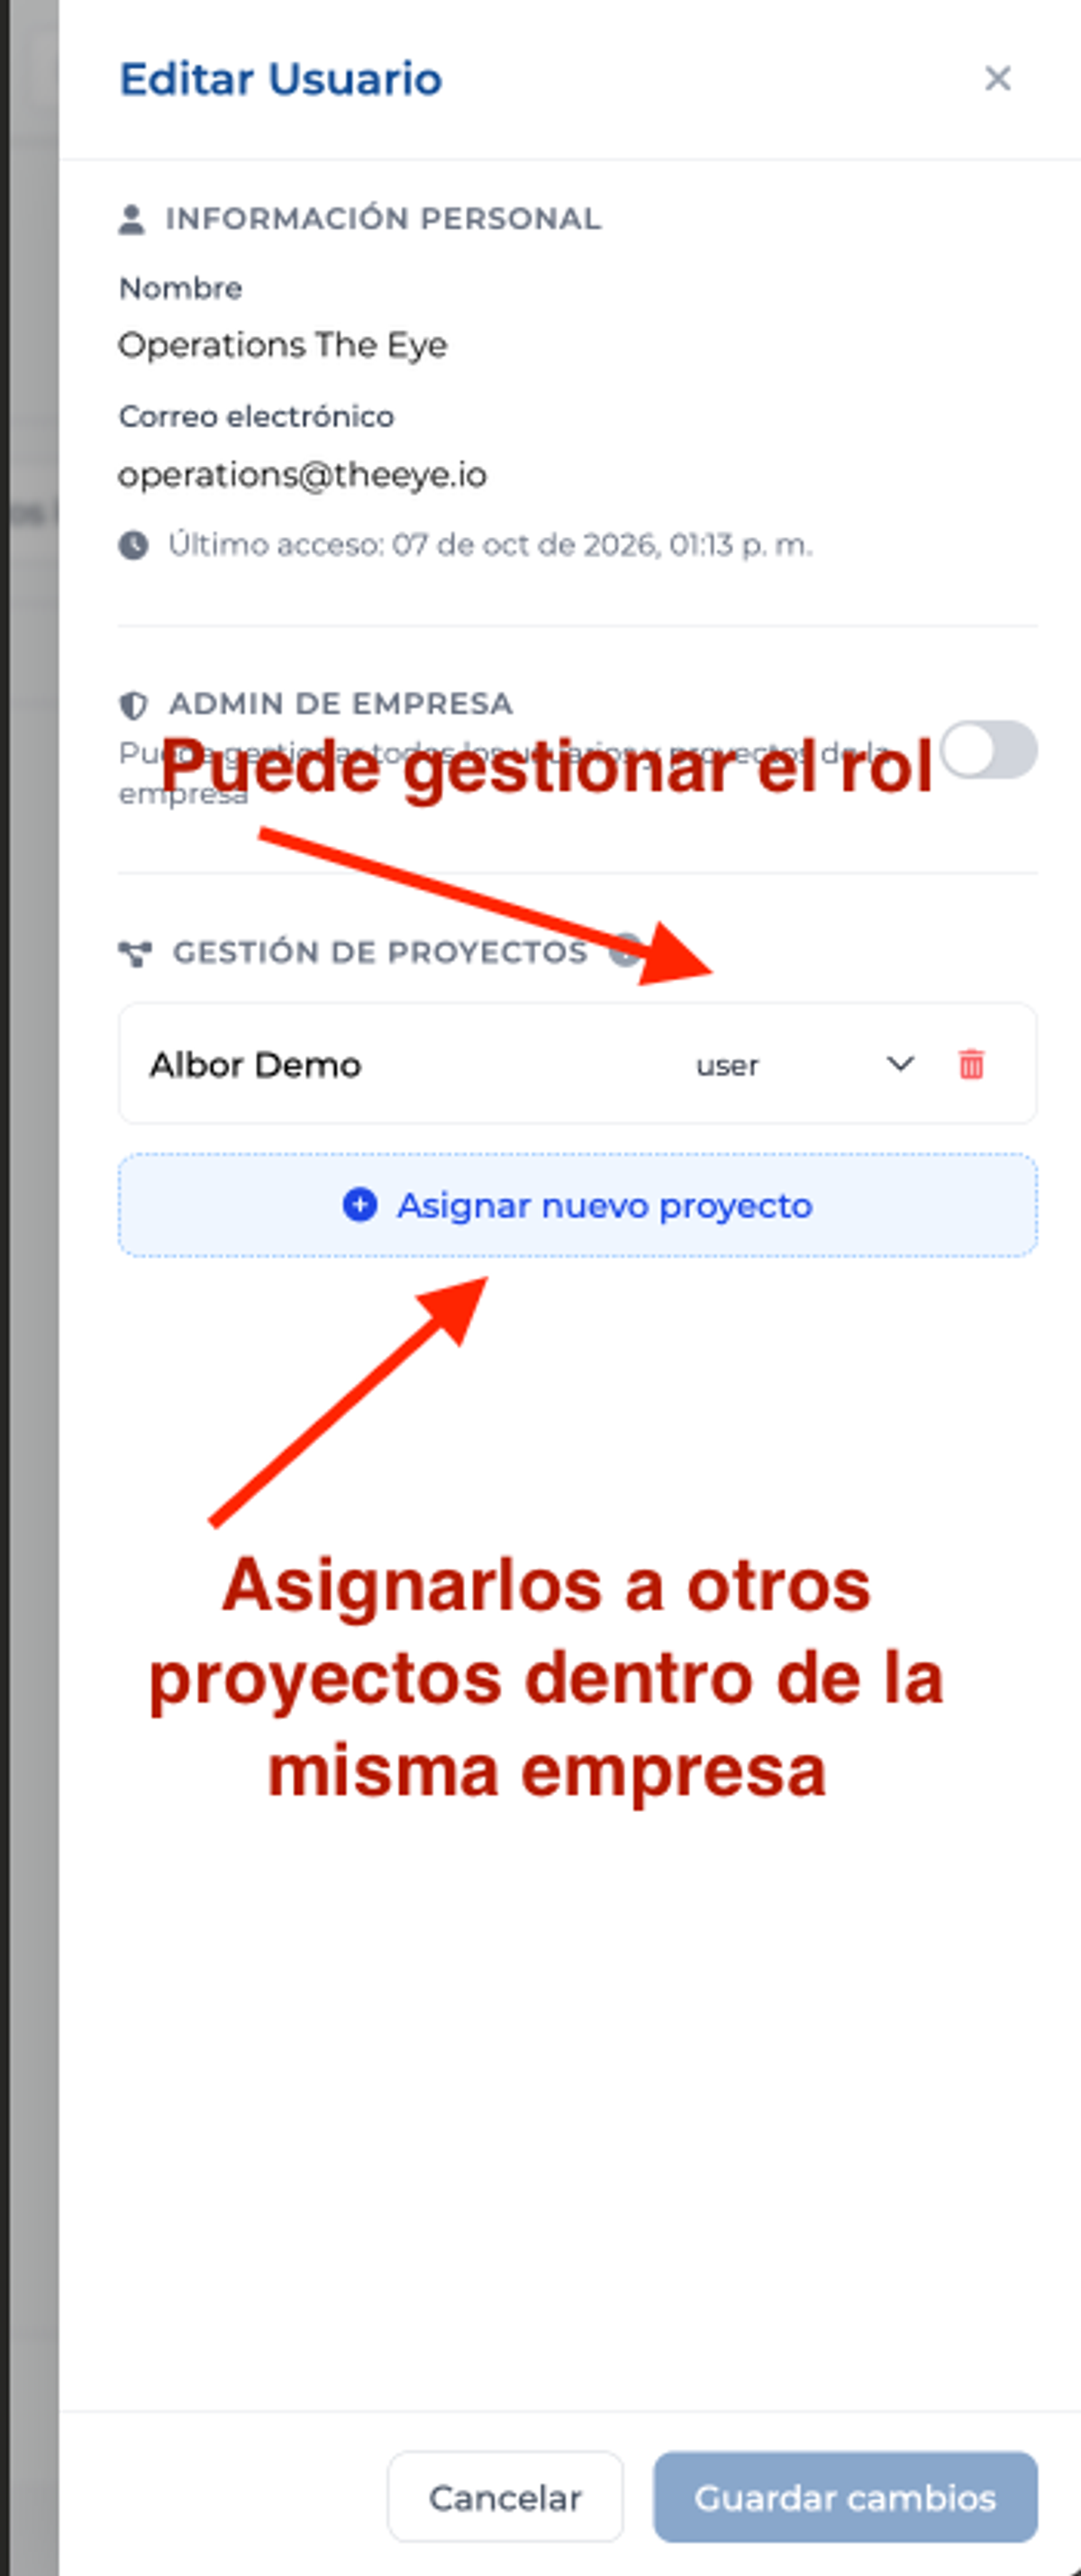
If a user needs access to multiple projects or updated permissions: 1. In Administration > Users, locate the collaborator in the list. 2. Open the options menu on their row and select Membership Changes. 3. Choose the project you wish to grant access to and assign the appropriate role. 4. Save changes. The new permissions take effect immediately. Note: The Administrator role is managed exclusively by The Eye Support team.
- 5
Deactivating Users and Freeing Up Seats
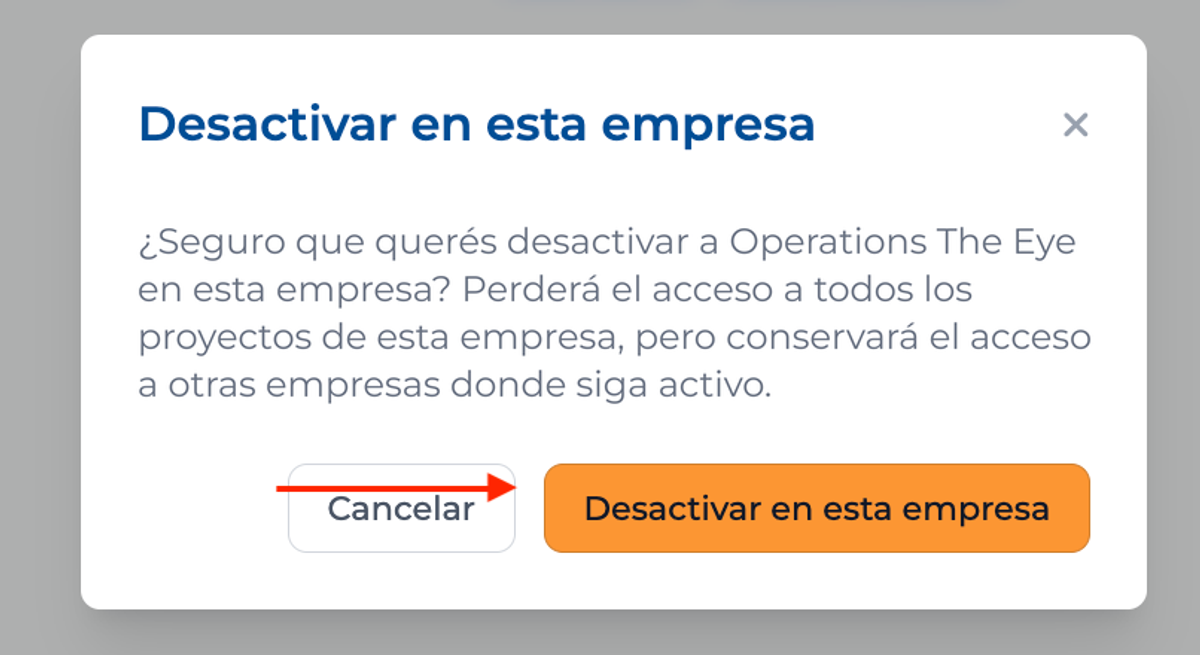
When a team member leaves the company or project: 1. Locate the user in the Administration user list. 2. Open the options menu and select Disable. Important: If the system prevents disabling the user, ensure they are not assigned as an approver in any active validation rules. Reassign those approvals beforehand to complete deactivation and release the seat license in your plan.
Last updated: 11/2/2026
Still have questions?
Contact support